We are pleased to announce the beta release for our v0.4.0 software. The major focus of this release is to enable networking capabilities of the camera,
and a new GUI to choose from. Under the hood, we have also replaced the operating system of the camera and will now be using an embedded build of the Debian operating system. This is the software that we are currently shipping on our Chronos 2.1 cameras, and is now also available for users of the Chronos 1.4.
+----------------------------------+
++ ++
| Chronos V0.4.0-beta |
++ ++
+----------------------------------+
Notable Changes:
- Support for the LUX2100 image sensor.
- API for camera control via JSON/HTTP over the Ethernet port.
* Examples: https://github.com/krontech/chronos-examples
- Saving of media over network to an NFS and Samba share.
- Software updates can be downloaded over the internet.
- Real-time video stream from the camera using RTSP.
- Experimental new GUI is available via the software update screen.
* For more information: http://forum.krontech.ca/index.php?topic=498
Fixed Bugs:
- Improved accuracy of overlay timestamps in frame trigger and shutter gating.
Minutae:
- Internal D-Bus and Python APIs for camera control.
- Move software update and GUI selection into a standalone tool.
- Add the ability to switch between GUIs via the software update too.
- Add Support for exposure trigger and shutter gating to IO3 (isolated).
- Reogranized the trigger/IO settings window to make IO1 and IO2 consistent.
- Allow specifying folders and complex paths in the save settings.
Changes During Beta:
- Updates in build 20200302
- Updates in build 20200331
Installation InstructionsThe most up-to-date instructions can be found in the
chronos-updates respository on GitHub, but we have done our best to transcribe them here for you. The update procedure shown here should be familiar to anyone who has used a embedded Debian system such as the Beaglebone or Raspberry Pi.
Since this update requires a complete replacement of the operating system, we currently only offer this upgrade by completely replacing the contents of the microSD card. We are working on a more user friendly upgrade procedure that will hopefully be available in the next couple of weeks using the v0.3.2 software update procedure.
Step 1: Backup Factory CalibrationThis step is required for Chronos 2.1 users, failure to do so may result in degrated image quality due to missing calibration files after the upgrade. Users of the Chronos 1.4 may skip this step, and re-generate their calibration data in step 6.
To backup your factory calibration data:
- Insert a FAT32-formatted USB drive into the USB/eSATA port on the side of the camera.
- Navigate to the Storage tab of the Util Window.
- Tap the Backup Calibration Data button to begin the backup procedure.
- If successful, a message box will apear showing Calibration backup successful
- Tap Ok to close the message box.
- Tap the Eject Disk button to safely eject the USB drive.
Step 2: Download the Latest Software ImageThere are two ways to write the Debian image to an SD card:
a. using an SD card reader on a computer
b. using a Chronos 1.4 camera, and the update-to-debian app, which writes the Debian image to an SD card with a capacity of at least 4GB in the camera's top slot. After writing the image, continue with "Step 5: Insert the microSD Card into Your Camera" in this topic. More information is in this post:
http://forum.krontech.ca/index.php?topic=531.msg3049#msg3049Download the latest Debian image from
debian.krontech.ca/builds. The image file will have an img.xz extension, and contains a sector-by-sector compressed image of the microSD card. The software images are named in the form chronos-<release>-<builddate>.img.xz, and at present there are two releases available for download:
voyager and
unstable.
The
voyager release is contains the software being tested for version v0.4.0, and represents a state of our software that has received some testing to flush out bugs. The features available in this release should be stable, and packages will be updated only as necessary to resolve bugs. This is analogous to the Debian
testing release.
The
unstable builds are generated nightly whenever new software is commited to our software repositories, and will always contain the bleeding edge code and latest features. However, this is not recommended except for development use, as software may break and APIs may change without notice. This is analgoous to the Debian
sid release.
At some point in the distant future, we expect to make
voyager the stable release, and a new codename will be chosen for the beta release of v0.5.0 when new features are ready for beta testing.
Step 3: Connect a microSD Card to Your ComputerUse your computer's microSD card slot, or a USB adaptor to connect a microSD card to your computer. Since this procedure will completely overwrite the contents of the microSD card, it is advisable to use a new card, and keep the original microSD card if you ever want to go back to the v0.3.2 or any earlier release. You will need to use a microSD card at least 4GB in size to install the Debian filesystem image.
Step 4: Write the Image to Your microSD CardThere are several options available to write the Debian filesystem image to your microSD card, depending on which operating system you are using.
With balenaEtcherBalenaEtcher is an open-source tool that can be used to decompress and write filesystem images to storage media, such as the microSD card that the Chronos cameras use for their operating systems. BalenaEtcher is available for Windows, macOS and Linux.
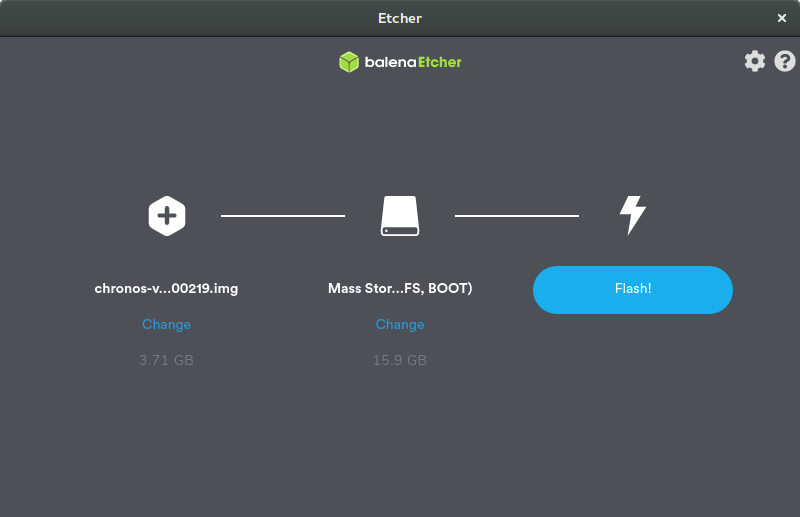
When starting balenaEtcher, select the img.xz file that you want to install, the storage device it is to be written to, and then click the
Flash! buton to begin the flashing process.
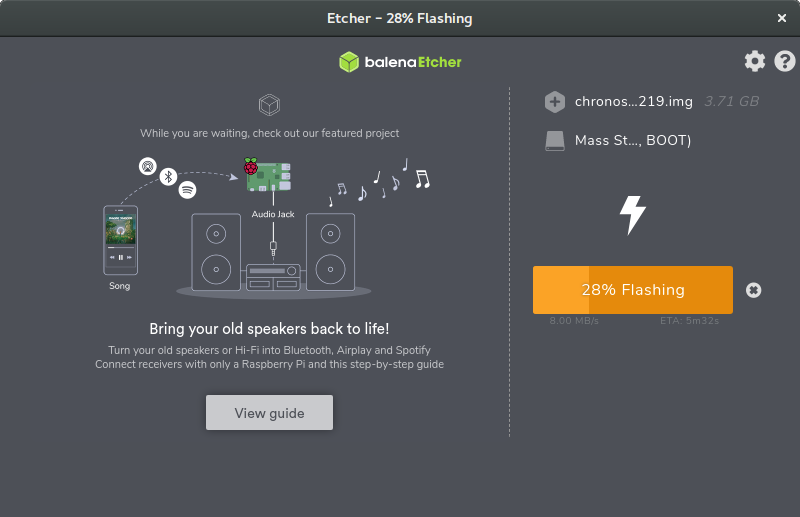
After starting the flashing process, balenaEtcher will display a progress bar as it first flashes, and then verifies the written image to the microSD card.
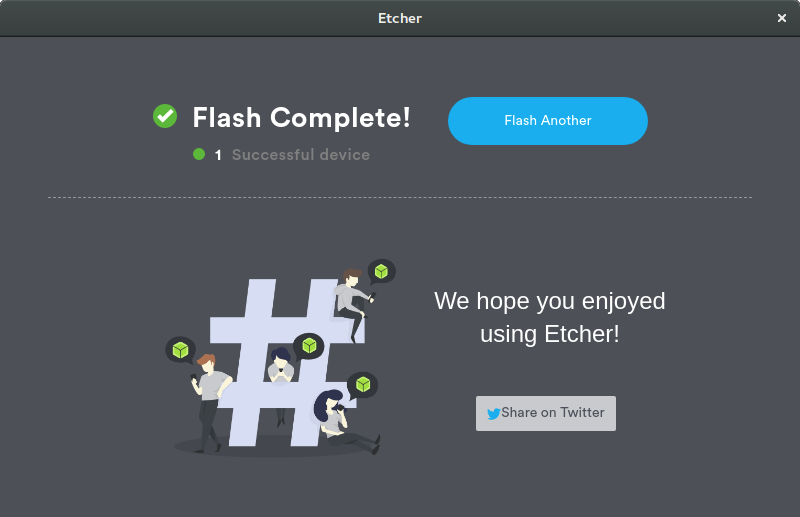
Finally, when flashing is completed. You can remove the microSD card from your computer.
 Linux Command Line
The image can also be written directly to a microSD card using the
xzcat and
dd tools. However,
this tool can be extremely dangerous if misused (
dd is sometimes refered to as the disk destroyer), and it will just as easily overwrite your computer's root filesystem as it will the microSD card if you set the output device incorrectly.
First locate the block device of the microSD as it was detected by your operating system. In this example, it appears as
/dev/sdX.
user@example:~$ lsblk -p
NAME                                       MAJ:MIN RM   SIZE RO TYPE  MOUNTPOINT
/dev/nvme0n1                               259:0    0   477G  0 disk
├─/dev/nvme0n1p3                           259:3    0 475.7G  0 part
│ └─/dev/mapper/nvme0n1p3_crypt            253:0    0 475.7G  0 crypt
│   ├─/dev/mapper/ubuntu--gnome--vg-root   253:1    0 474.8G  0 lvm   /
│   └─/dev/mapper/ubuntu--gnome--vg-swap_1 253:2    0   980M  0 lvm   [SWAP]
├─/dev/nvme0n1p1                           259:1    0   512M  0 part  /boot/efi
└─/dev/nvme0n1p2                           259:2    0   732M  0 part  /boot
/dev/sdX                                     8:16   1  14.9G  0 disk
├─/dev/sdX2                                  8:18   1   3.4G  0 part  /media/user/ROOTFS
└─/dev/sdX1                                  8:17   1  39.2M  0 part  /media/user/BOOT
Before we can write an image to the microSD card, we must first ensure that it is not mounted by your operating system. We can use the
lsblk tool to list any devices mounted for this card, and unmount them as needed.
user@example:~$ for part in $(lsblk -n -o MOUNTPOINT /dev/sdX); do umount $part; done
The image can then be decompressed and written directly to the block device as follows. The decompressed image will be approximately 3.7 GB in size and, depending on the write speed of your microSD card, can take between 5 and 15 minutes to complete writing.
user@example:~$ xzcat chronos-voyager-20200226.img.xz | sudo dd of=/dev/sdX status=progress
[sudo] password for user:
3711142400 bytes (3.7 GB, 3.5 GiB) copied, 751 s, 4.9 MB/s
Other LinksThe process described here is very similar to the installation of many other embedded Linux systems. You can find similar guides for both the
Raspberry Pi and
Beaglebone, which may provide some useful suggestions on other ways to create a microSD card if these tools don't work for you.
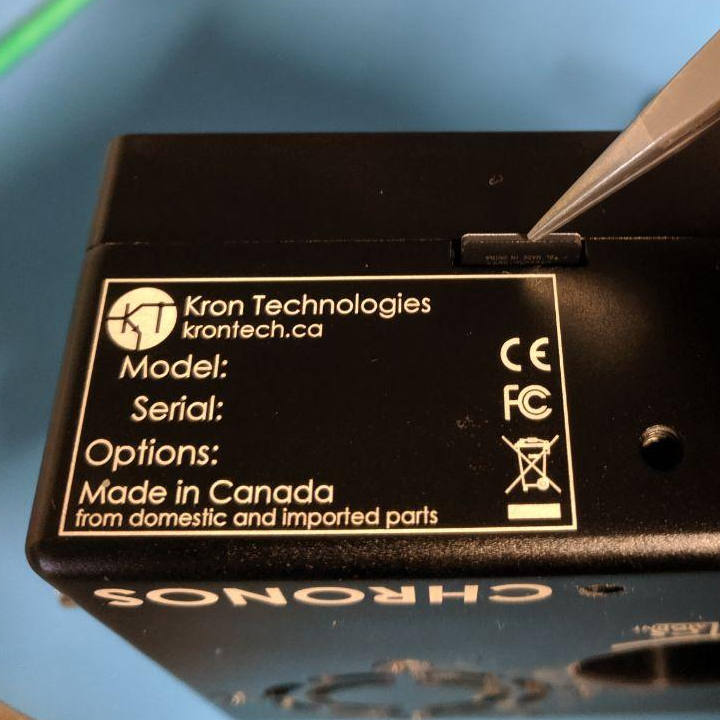
Step 5: Insert the microSD Card into Your CameraRemove the old microSD card from the slot located on the bottom of your camera, near the model and serial number, and replace it with the newly created microSD card with the v0.4.0 release. You will need to push the card in passed the detent to ensure it stays latched in place.
Once installed, you can power the camera on and you should be greeted with a Chronos boot logo, and eventually the user interface.
Step 6: Restore Factory CalibartionAfter installing a new software image onto your microSD card, it is important to restore the factory calibration data to maintain the image quality of your Chronos camera.
Chronos 1.4: Generate CalibrationUsers of the Chronos 1.4 can generate their calibration data automatically by navigating to the Factory tab of the Util Window, and tapping the
Black Cal All Standard Resolutions button. This procedure can take up to 10 minutes to complete, and should be performed only once the camera has warmed up to its normal operating temperature.
Chronos 2.1: Restore CalibrationUsers of the Chronos 2.1 must restore their calibration data by copying it off their camera before upgrading, as their camera is not capable of generating its own calibration data. To restore the calibration data:
- Insert the USB drive with factory calibration data on it from step 1.
- Navigate to the Storage tab of the Util Window.
- Wait for the USB drive to appear in the USB/SATA storage status box.
- Tap the Restore Calibration Data button to copy the calibration data back onto the microSD card.
- Tap the Eject Disk button to safely eject the USB drive.

